
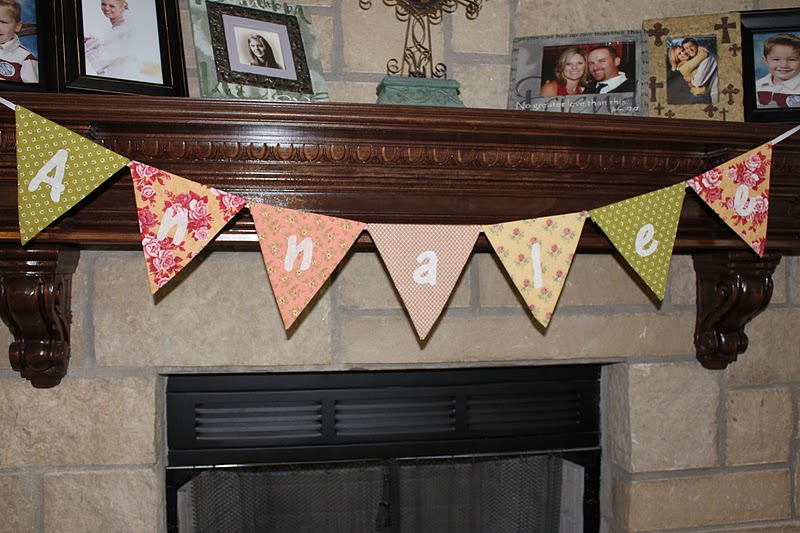
A few weeks ago, I had the lovely opportunity to help celebrate a very special friend. She is having her first baby in December and it is a girl! For the shower, I wanted to make something personal for Baby Annalee & something that maybe could be used in her nursery!
This is what I came up with! A personalized "bunting banner". You can see the rest of the pictures from the darling shower, here!
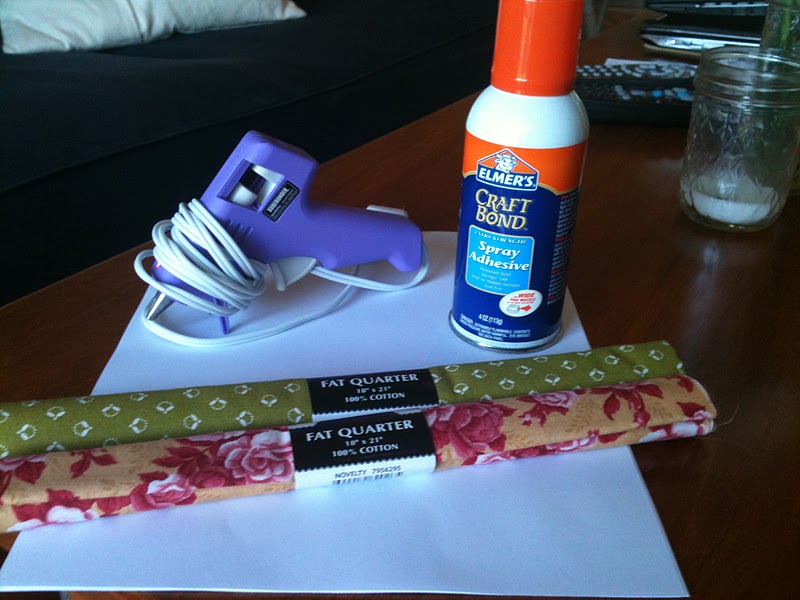
To make your own personalized banner (no sew style!), you will need the following:
Fabric Scraps
Hot glue gun
Spray Adhesive
Cardstock paper
Scissors
Let me begin by saying that if you have a super cool tool like a "Cricut," this project would probably be less time consuming. However, I don't have anything like that..so this was the easiest way for me. :)
To begin, iron all fabric.

Cut a triangle out of the cardstock. I free handed it..I don't measure. Ha! So, goodluck!

Then, cut the rest of your triangles. You can make as many as you want. Just make sure they are all the same size.
To begin on the first triangle, you will cut 2 triangles out of your fabric: 1 big and 1 the same size as paper cut traingle.
Cut the fabric to fit just over the paper.
It doesn't have to be perfect, because it will be covered up on the sides.
This will be the back of the banner.
Then cut a fabric triangle a little bit bigger than the previous fabric triangle.
Place it face down and cover with the paper and fabric triangle.
This will be the front of the banner.
If my directions don't make sense, maybe this picture will help. :)

Place hot glue on one side of triangle in the crease. Fold over fabric and hold. 

Continue this step for the other two sides until complete!

Now for the letters...
To begin, I chose a font I liked on Microsoft Word.
I increased the size to 250 and printed it. Then I cut out the letters.

Next, I taped the letters onto the fabric.

Then, I cut the letters out. Sounds hard, but it was pretty easy!
After that, I peeled the taped paper letter off of the fabric.

And finally, I had myself a fabric letter!

You made need to trim the edges. My fabric frayed a little, but it looked great after I trimmed it. If you're going for a vintage look, you may like and want to keep the "frayed look."
I used the Elmer's Craft Bond Spray Adhesive to "glue" the fabric letter to the bunting. Tip: You may want to use the spray adhesive outside over some scrap paper because the spray makes everything sticky!
You will end up with this!

Choose a ribbon you like and hot glue the back of the fabric triangles to the ribbon & you've got yourself a bunting banner!


"Annalee Ray"
This is the combo of lots of people's names in their family.
I love meaningful names!

Do you think YOU could make your own No Sew Bunting/Banner? I think so!
No comments:
Post a Comment